This 3rd Tutorial will just show how to rip Tiles.
It is supposed you already read the GfxRip Tutorial - Part1.
II/ How to start
As on the 1st Part, take a Savestate of a game ( I still use Lionheart here, I will use an other game later ).
Open it with GfxRip as we did last time.
Now, we are searching for tiles.
What is a "Tile" ?
Tile is a 'little picture' ( usually 16*16, 32*32, 64*64 ... ) that is used to compose a map.
Combined to other Tiles, you have an infinite map quantity.
There are two "big" ways to store Tiles.
-
- You can store them in one row, like this: [------------------------------------------------------------]
-
- Or using a box system, like this:
[-------------------]
[-------------------]
[-------------------]
[-------------------]
[-------------------]
[-------------------]
What is different ?
> The TileSet size ( X & Y )
-
-If you have 1000 Tiles in 16*16 each, using the 1st technic, you will have a Width of 16000 for the TileSet in X ( 16 * 1000 )
But only 16 in Y !
-
- Using the 2nd technic, you may have different situations:
[-----][---------------------]
[-----][---------------------]
[-----][---------------------]
[-----]
Just check the size. ( You can also guess it with ease ... )
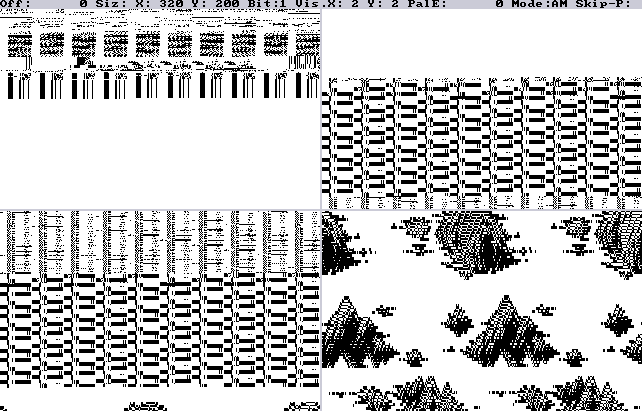
For Lionheart, it is easy to see the Tile size is 16*16 ( just play the game ... ).
To search our TileSet, we will increase the X size, into reach something good ( in order to see something that may make us happy :p )
( You can also guess than the Tile number may be quite huge ... more than 500 differents tiles for sure ! )
III/ Ripping
-
Our story start here:
-
( Increasing ... increasing ...)
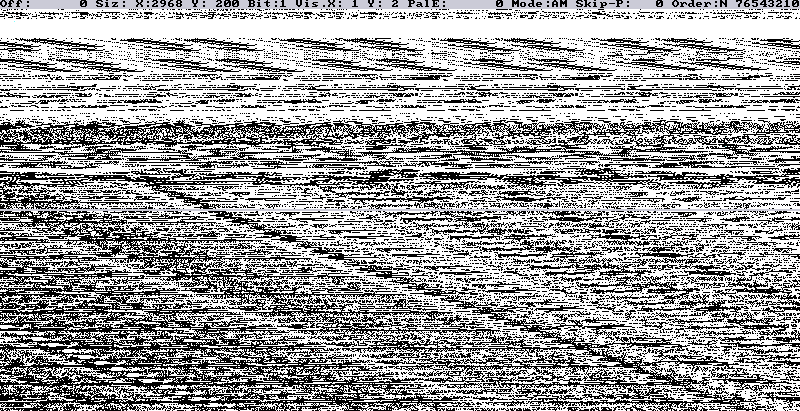
Ho, something interesting !
We can see a strange Gfx here. Have a look at the X size ( 2968 ).
-
( Increasing ... increasing ...)
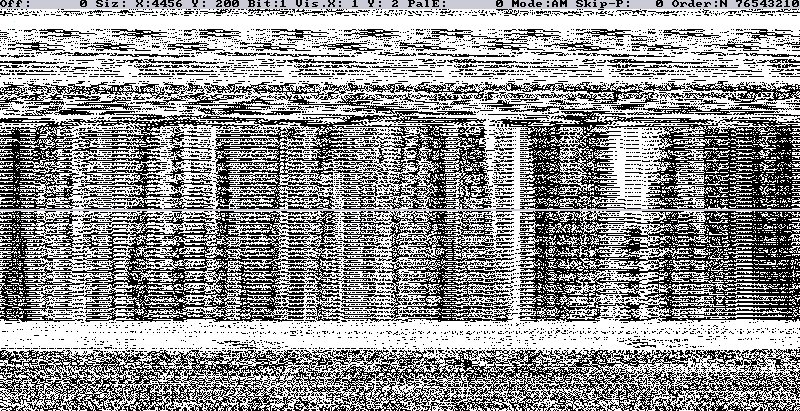
Ah ah ! It is a bit better now ! But still to huge in Y. ( X = 4456 )
Now you can guess that if you x2 this X value ( 8912 ), you will see it again, but in a smaller Height. Try to reach 8912.
-
( Increasing ... increasing ...)
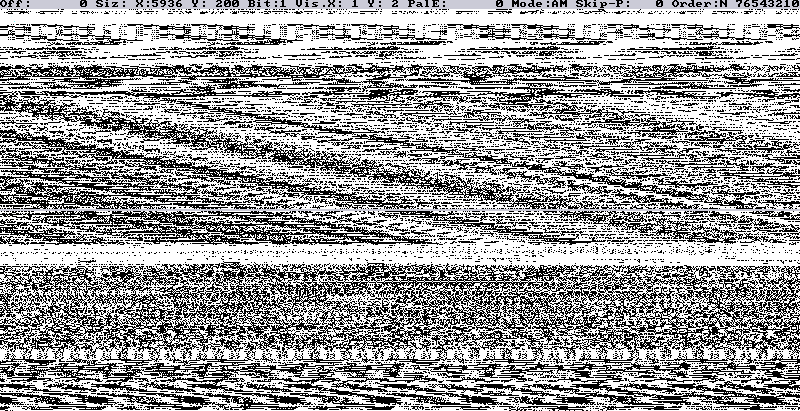
Ahhhh !
It looks like the last picture ( with X = 2968 )
But here, X = 5936 ! ( 2968 * 2 !! )
Then, we will apply the same for 4456 ;)
-
( Increasing ... increasing ...)
Hooo !
We can really see something !
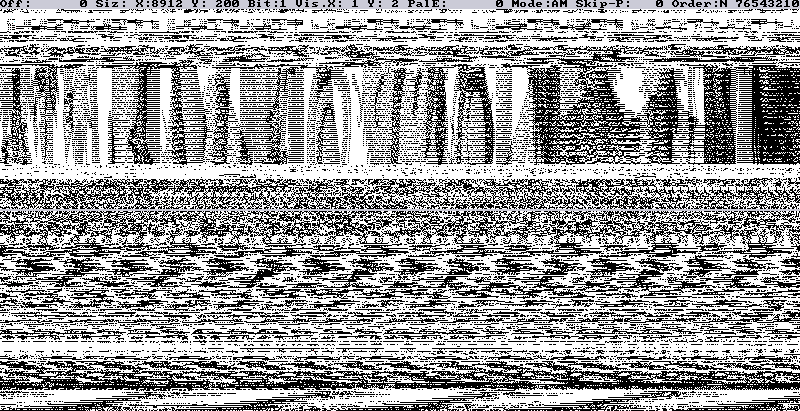
We can try to change the Bitplanes number ( try with 2 and use ST mode ... we are searching for Tiles, remember ;) )
-
( Increasing ... increasing ...)
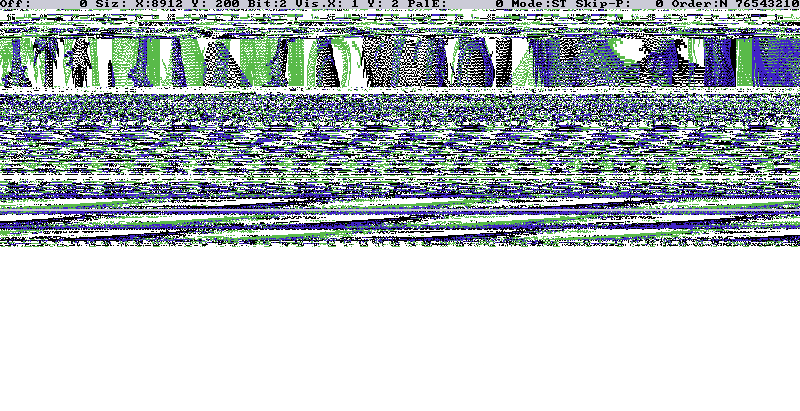
Ahhh, it is really interesting !
If you know the game a little, you will certainly see that this is our tiles !
We should continue to increase the X size ( go to 1 for Bitplane, it will make the search faster ... )
X = 8912; but still not good, so, not enough; ( try again by X2 => 17824 )
What is sure :> This is the 1st technic; tiles in one row.
-
( Increasing ... increasing ...)

Hum hum hum !
The same picture as the previous one, but with 1 Bitplane ! ( of course, 17824 / 2 = 8912, 1 Bitplane instead of 2 ... mathematic :p )
Remember we know the tile's size ( 16*16 ), so, change the Y size to 16, this may help us !
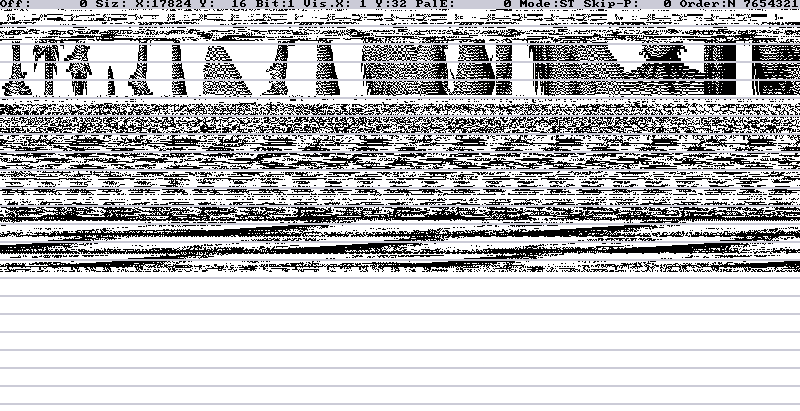
We can see 3 lines in the same Tiles row Y. This mean the Gfx uses 3 Bitplanes. Then, change Bitplane to 3 ( using "E" ).
-
To make the ripping more easy, be sure your tiles Height is on the top of the screen. Change the Y offset ( UP key ):
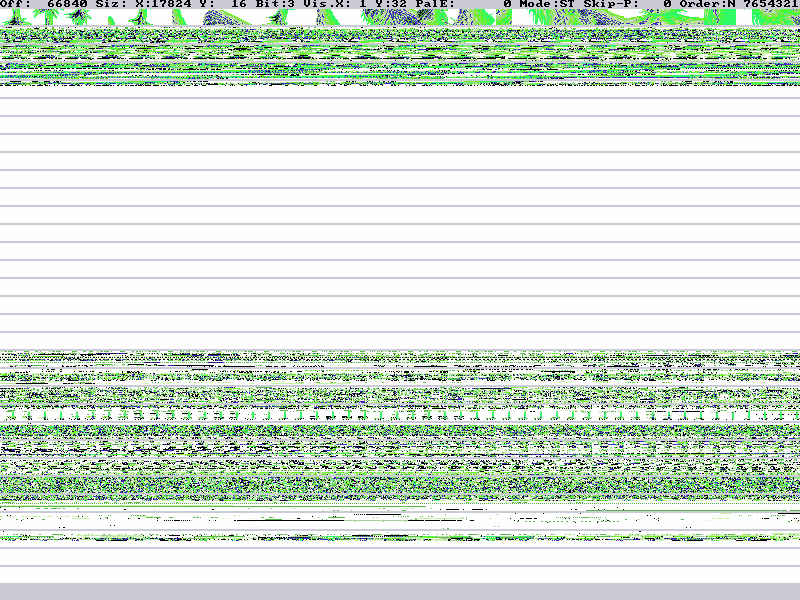
The palette still wrong ! We need to change it. Set Palette Search to S ( using "Z", or "W" for AZERTY )
-
Then, push "L" key to make an automatic palette search. It should work by pressing it once. ( Else, continue into find the best palette ).
-
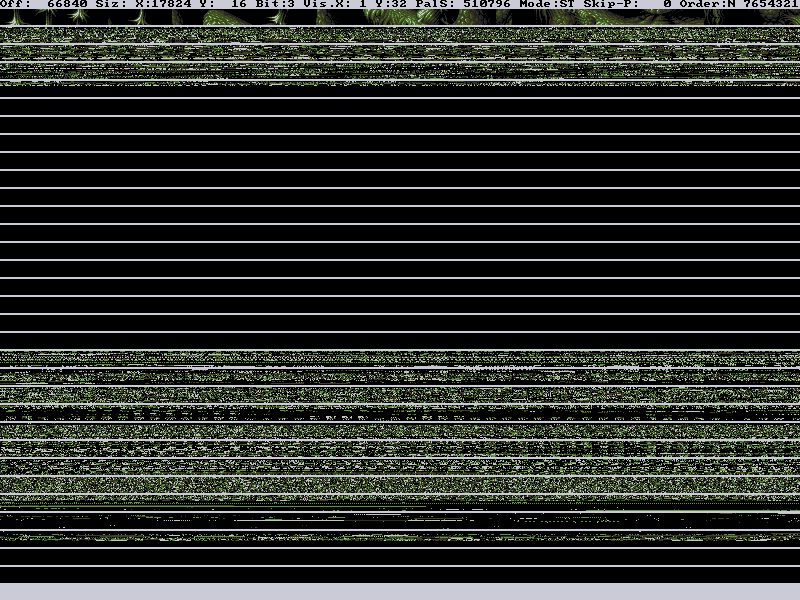
Last part of this rip is to adjust the "starting position" of the TileSet. Move the X offset using RIGHT key( into see a wrong tile ).
You can also use a fast moving mode, with "G", and change the current value ( decrease it carefully, step 50, or 25 ).
-
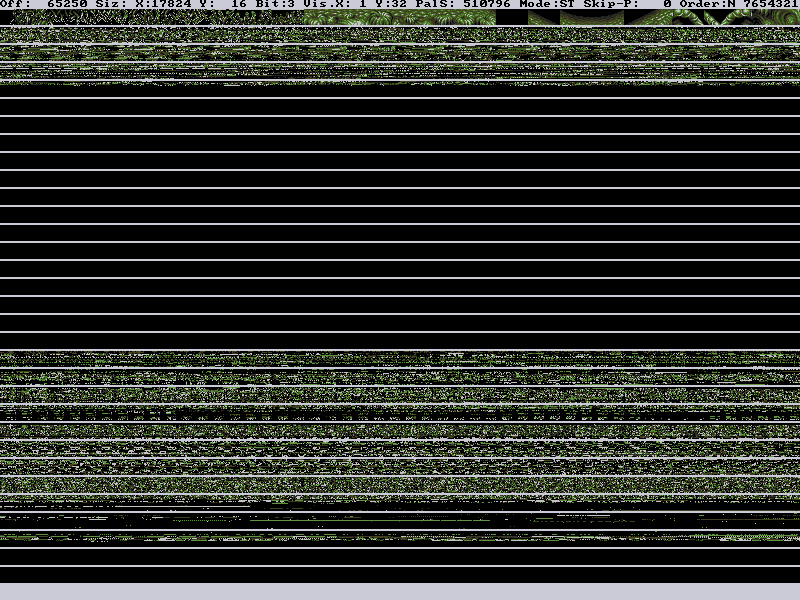
Now, we need to adjust it again, using LEFT key, in order to remove every "wrong" tiles. ( The correct value is: 65288 ).
Now, save it, using P ( 1 picture in X & Y )
Then, you got the full TileSet, with the correct palette !