This 2nd Tutorial will just show the basis of ripping technics, nothing more, by just using WinUAE & GfxRip.
Also, a big Thanks to x_to that explained me how to use Gfx rip, and gave me some tips ...
II/ What we need ?
-
Download WinUAE ( I hope you already installed it ! ) and GfxRip.
( http://retrospec.sgn.net/game-links.php?link=gfxrip )
-
Start a game using WinUAE, with parameters like this:
( Here, i'm using Lionheart, you can get it here: http://thalion.exotica.org.uk/games/lionheart/lionheart.zip )
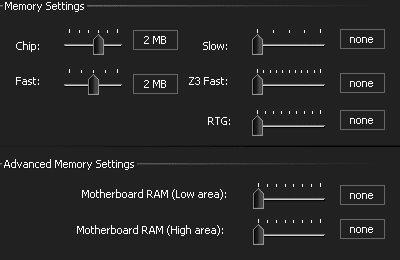
You may ask why... because many Gfx are loaded at the end of the memory ... imagine if you have about 100mo of memory ... ;).
When the game is ready, you had to choose what you would like to rip. For example, if you want Backgrounds gfx, start a new game.
When loading is finished, push F12 ( to enter in WinUAE ).
-
Choose "Misc" and click "Save state":
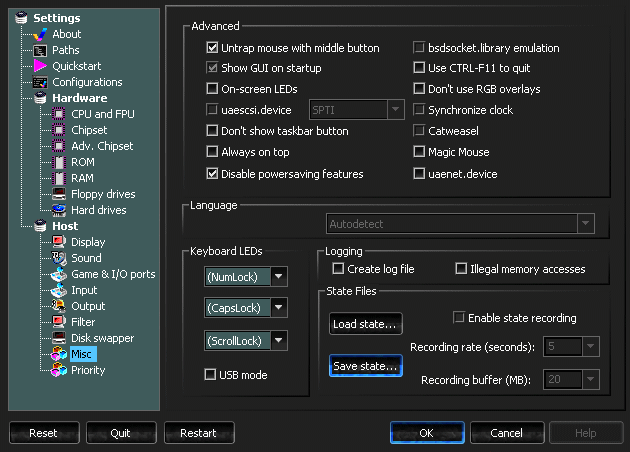
-
Then, a new window will appears, choose "Uncompressed" save, and click "Save":

-
Now, exit WinUAE, and launch 'GfxRip.exe'.
III/ How to Rip
Game ripping may be random ... sometimes, it is really easy, other time ... you guess :p
It really depends of the game you are ripping.
-
Choose your savestate ( eg: test.uss ) and click "Ok":
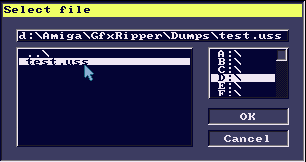
-
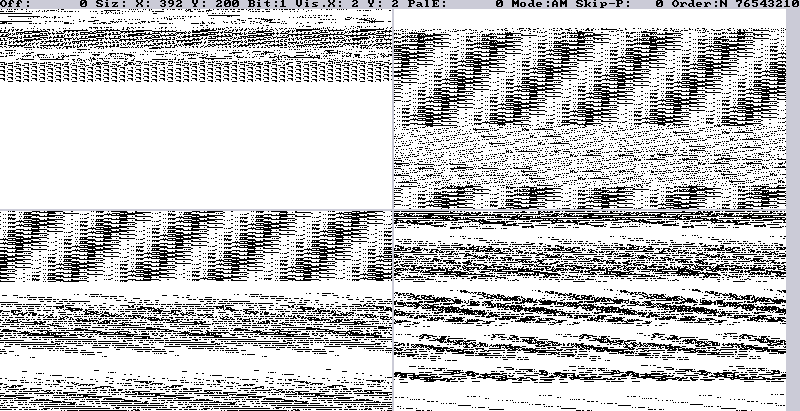
If you chose to do a try with Lionheart ( link on top ), you should see something like that:
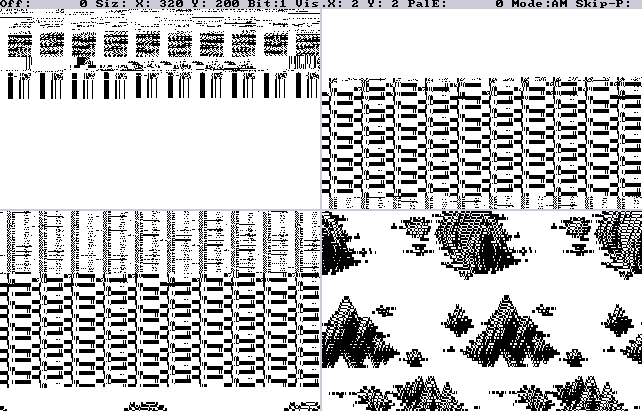
-
If you played this game, you should understand what are thoses clouds ...
We are going to rip them.
-
1st, we need to change the X size.
- - Use "Q" & "A" from your keyboard to change it.
- - Press 9 times the "Q" key ( "A" for AZERTY keyboard ... ), and you will see something like this:
This is ugly naa ? Héhé, for sure !
Then, we need to adjust it again !
-
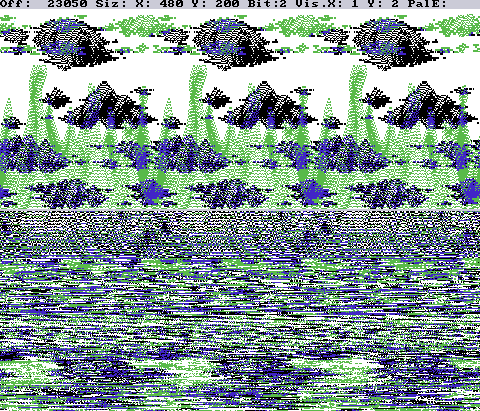
If you press "Q" again, you will see this:
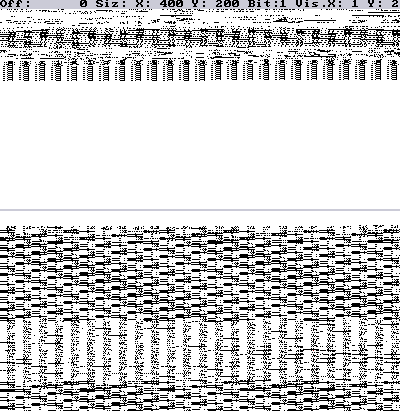
But, where are the clouds !?
We need to change the Y offset, by using our "Arrowkeys" ( Up & Down )
-
Push "Down" key ( you can use Shift+Down to make it faster ) and reach something like that:
Ok, now, we can see the clouds again, but they look a bit strange :s
-
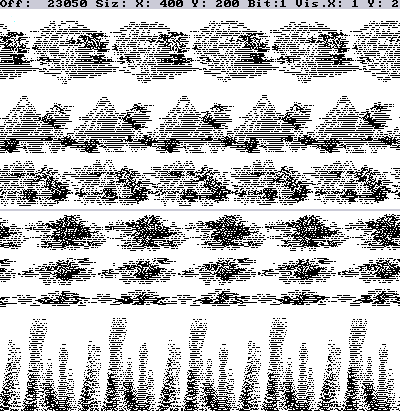
Continue to change the X size by pressing "Q", and you will see this:
Clouds look like a bit more nice. But still uncolored.
-
It's time to increase the "Bitplane" number. Use "E" & "D" keys to change it. ( Push one time "E" )
This will appears:
Ahhhh, ugly again ! Héhé, another thing we need to change, the "Mode" ( AM, ST, SP, C+, C- )
-
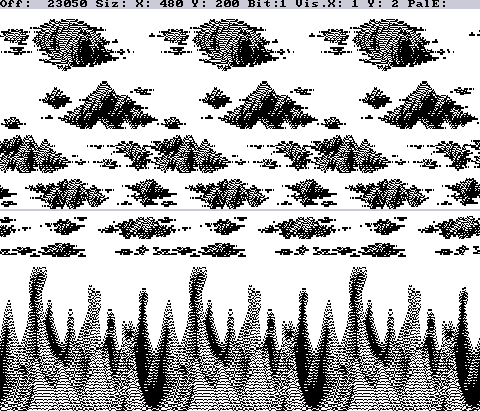
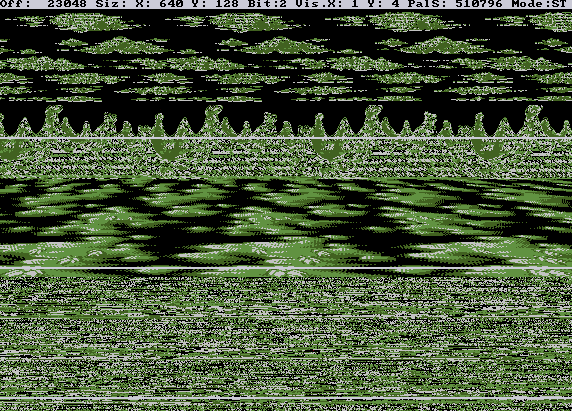
Push "M" key ( "," for AZERTY keyboards ) and you will see this:
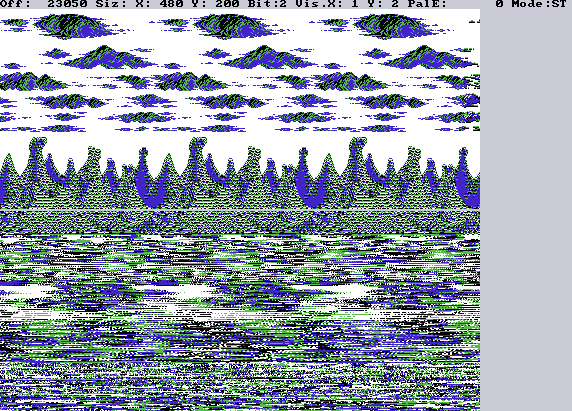
Ah Ah ! Interesting !
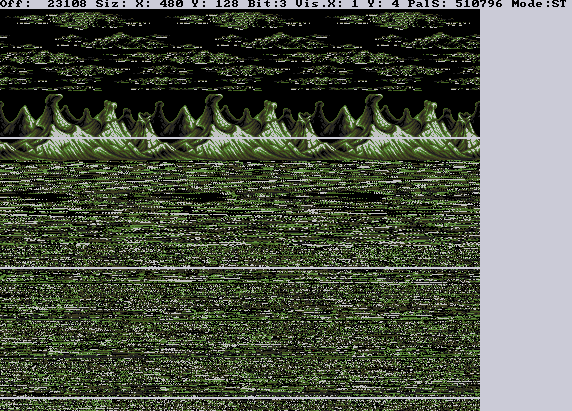
Now, we know the "Cloud" uses ST "Mode", with 480 in Width.
But, what about the colors !? HUuum, stay cool;
If you remember, you are working with a "Savestate" from WinUAE.
This "Savestate" is the full Memory of your Computer ( Amiga emulated with WinUAE ) just before you taken it.
Also, palette data are stored ( not everytime ............. rrgggn ).
-
Next, change the "Palette Search" to S ( At this time, you can see E, 'Pal E' )
Use "Z" key ( "W" for AZERTY ) to get "Pal S"
Then, press "L" key, into have the good palette. You will find something like this:
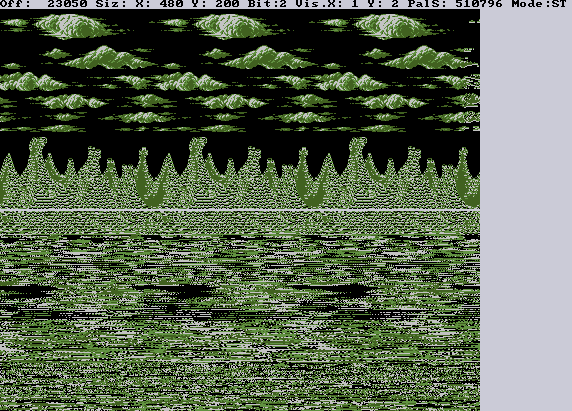
Is it finished ?
The answer is no !
-
As you can see, still some strange colors ... ( Left border )
Also, the Y size is not good. Change it using "W" & "S" ( "Z" & "S" for AZERTY ).
And change the X offset using ArrowKeys ( LEFT - RIGHT )

-
NOW it is finished :) Just save your final colored Gfx using "P" key:
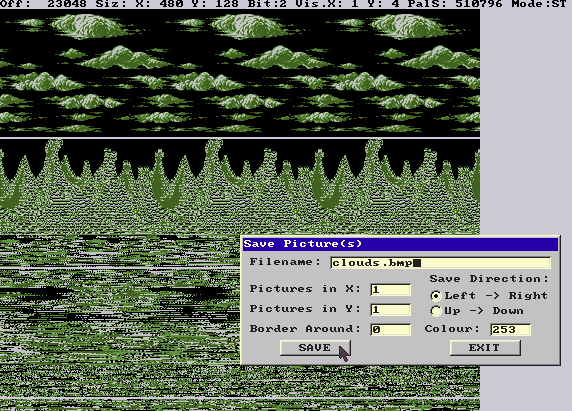
( Let pictured in X & Y to 1 ! )
-
Here the final Gfx:
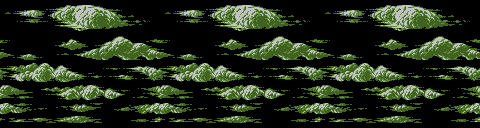
Well done !
III/ Extra
-
If you change again the X size, you will find this:
-
Now, try to rip the montains, in order to find this:
( think about the Bitplane ... try to change it ... the X size ... the X offset ... )
You can download a video showing this here: Video Tutorial